Taking screenshots to share or save information has now become a common habit for PC users. Windows allows users to capture screenshots using various techniques, such as the Snipping Tool, combination key shortcuts, etc.
The good thing is capturing screenshots on a Windows PC is nothing difficult. Just follow a few steps and you are good to go.
If you are looking for ways to capture screenshots on Windows 11, you are in the right place. We have explained all the possible ways in this post.
Ways To Capture Screenshots On Windows 11
Windows 11 offers multiple ways to capture screenshots, and some of those methods include additional features as well. We have provided the details of all the techniques in the section below.
Method 1 – Use the Snip and Sketch Tool
One of the easiest ways to capture screenshots on Windows 11 is by using the Snip and Sketch tool. To make use of this tool and screenshot your screen, you must follow these steps:
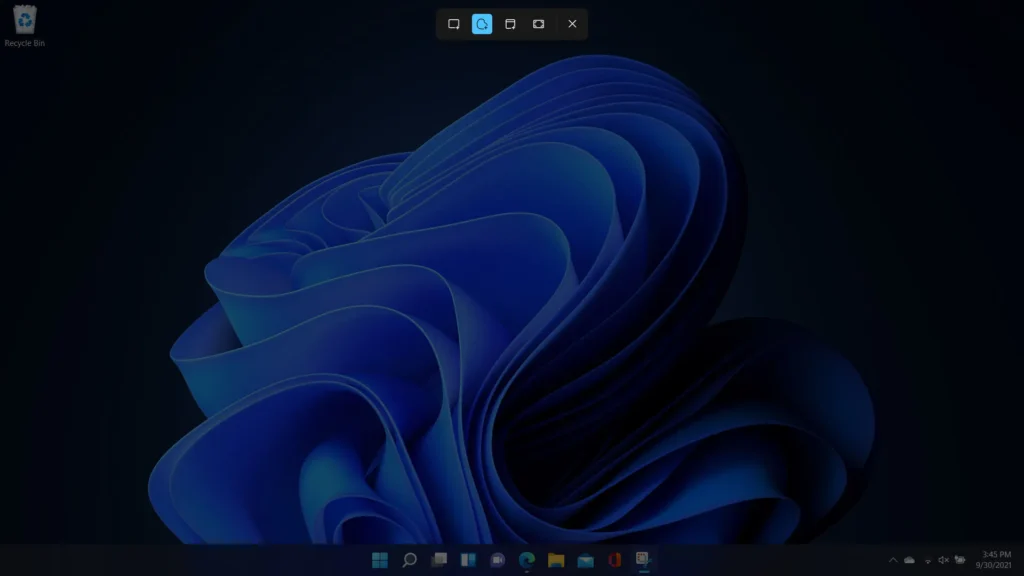
- Start by pressing Windows + Shift + S. This will make your screen a bit darker, and a floating toolbox will pop up at the top.
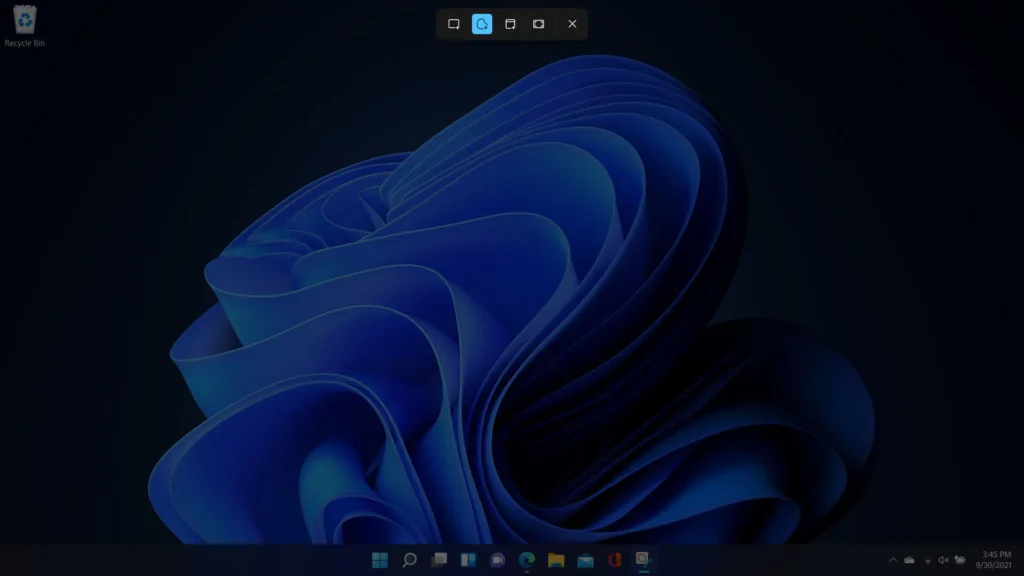
- Choose the type of screenshot you want. You can pick a square shape or draw your shape.
- After you finish selecting, the part you chose will be saved to your computer’s clipboard.
- You can find your screenshot in the notifications area. Also, it automatically gets saved on your Windows 11 PC.
Method 2 – Use the Snipping Tool
The Snipping Tool is like the default screenshot option that comes with Windows. It lets you do more than just take screenshots of the whole screen or active windows using keyboard shortcuts. To access additional features like time delay, and recording while taking a screenshot, you should use the snipping tool. This helps you take delayed screenshots for 3-10 seconds.
To use the Snipping Tool, follow these steps:
- The first thing you need to do is go to the screen you want to capture.
- Select the Start Menu and locate the Snipping Tool app. You can also use Windows Search to find it.
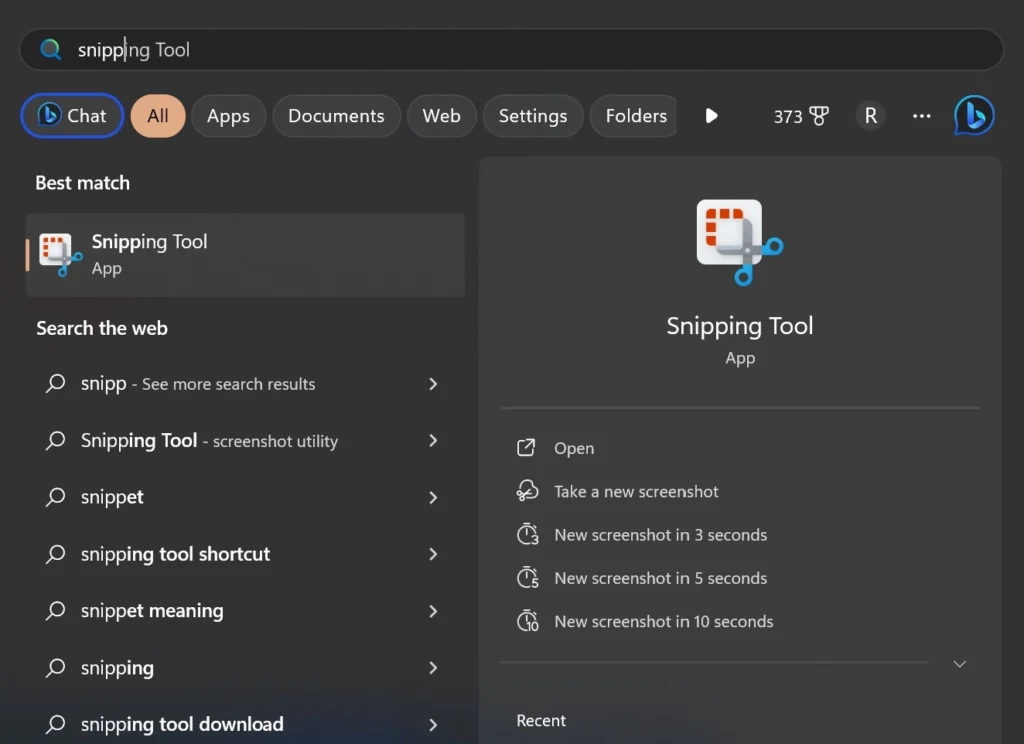
- Once you find the Snipping Tool, open the app.
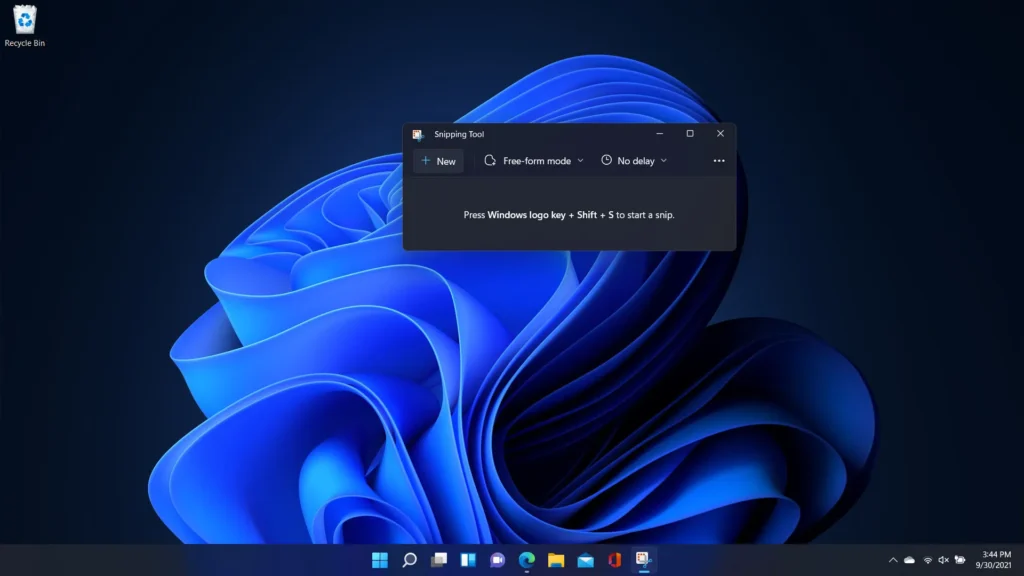
- You will see a small window appear on the screen with options like Delay, Mode, and New.
- Click on New to capture the screenshot freely, or choose a shape and size in Mode.
- Use the pointer to select the area you want to capture by clicking and dragging.
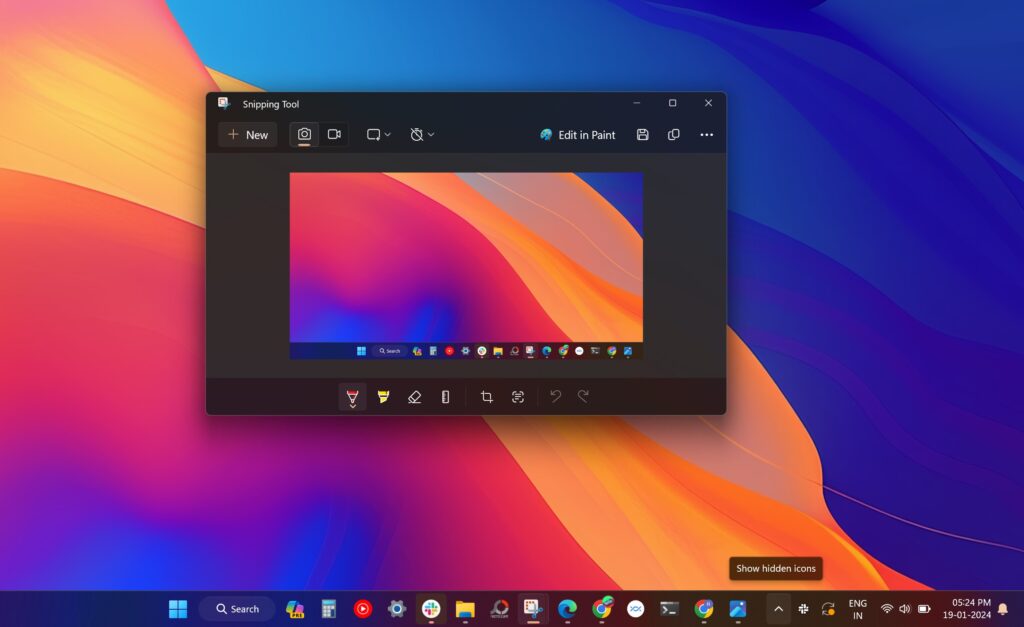
- Your screenshot will appear in the Snipping Tool window. If you want, you can adjust or edit it using the available tools.
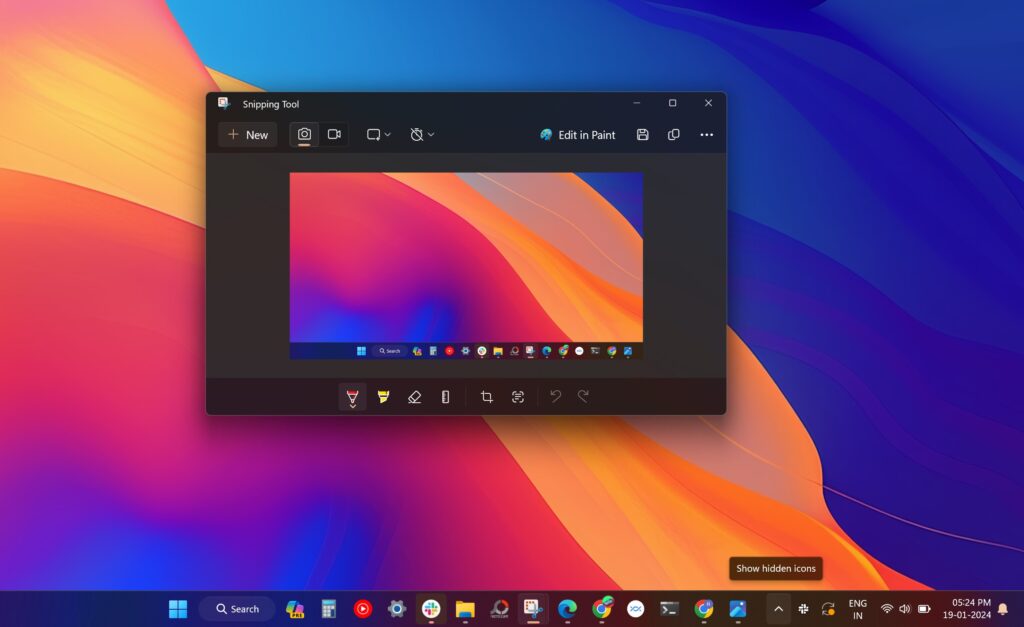
- Once you are done with the above step, save the screenshot on your PC.
Note: The Delay option allows you to set a timer for your screenshot. You can choose between multiple settings such as No-Delay, 3 seconds, and more.
Method 3 – Use The Windows + Print Screen Shortcut
By chance if you feel using the Snipping Tool is difficult, you can try using this shortcut. All you need to do is press a few keys here and there, and you are done. To use this method to capture screenshots, follow the instructions given below.
- Press the Windows and Print Screen buttons at the same time.
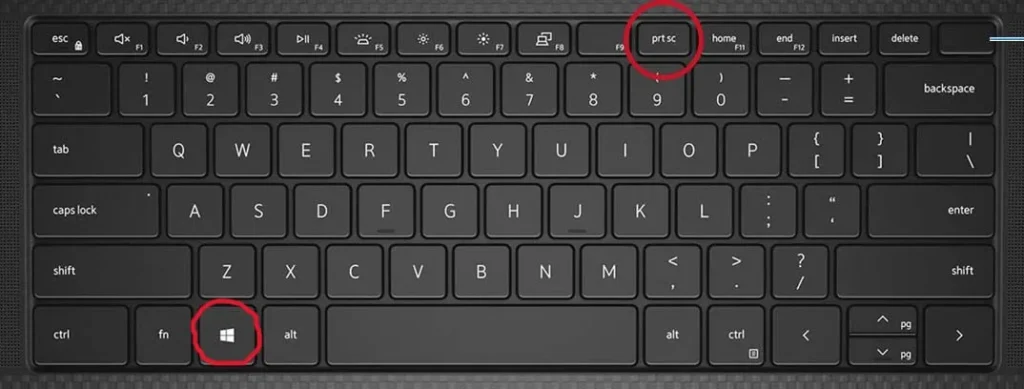
- Your action will cause the screen to dim briefly and brighten again. This indicates that you have successfully taken the screenshot.
- The screenshot is automatically saved in the Screenshots folder within the Pictures folder on your PC. Since the screenshot is saved in the image format, you can easily share or export it if needed.
This shortcut method is the quickest and the simplest. You can use this method when you need to capture multiple screenshots.
Method 4 – Use The Print Screen Button
Windows 11 comes with an option called the Print Screen on the keyboard. By pressing this button, you can capture screenshots without hassles. If you are not sure how to use the Print Screen button, follow our guide below.
- Locate the Print Screen button on your keyboard. It should be labeled as “PrtScn” or “PrtScr.”
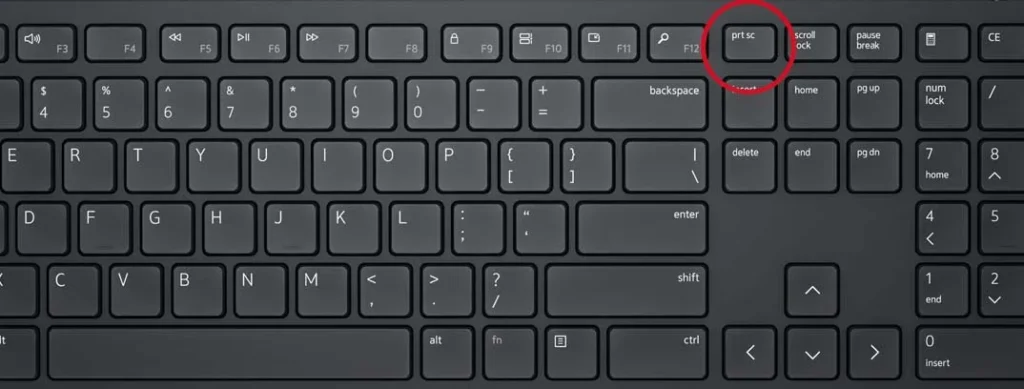
- Press the Print Screen button once, you will see some tools appear at the top of the screen. You will also notice the screen gets slightly dim, indicating you can take a screenshot.
- Drag and select the area of the screen you want to capture.
- A window will appear at the bottom of the screen where you can edit or save the screenshot.
Method 5 – Using The Alt + Print Screen Shortcut
This is another shortcut method you can use to capture screenshots on your Windows 11 PC. All you have to do is press the Alt and Print Screen button together. We have detailed the steps in the lines below.
- Press the Alt and Print Screen buttons simultaneously to take a screenshot. The screenshot will be copied to the clipboard.
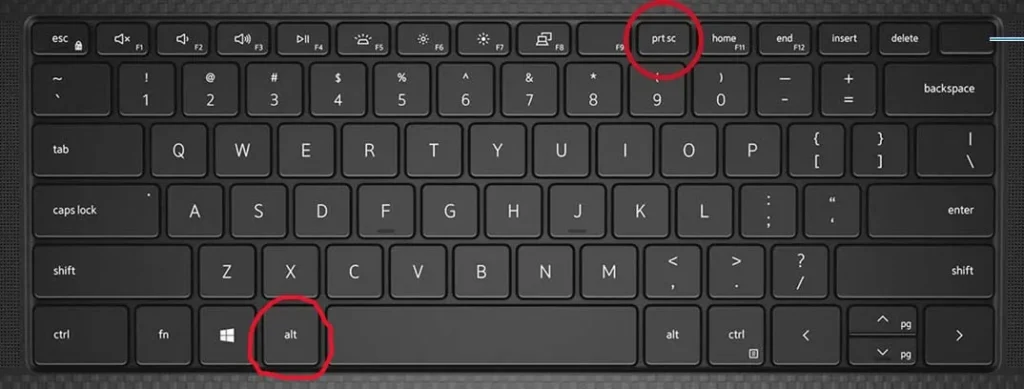
- Now paste the copied image into an image processing software like Paint 3D or MS Paint.
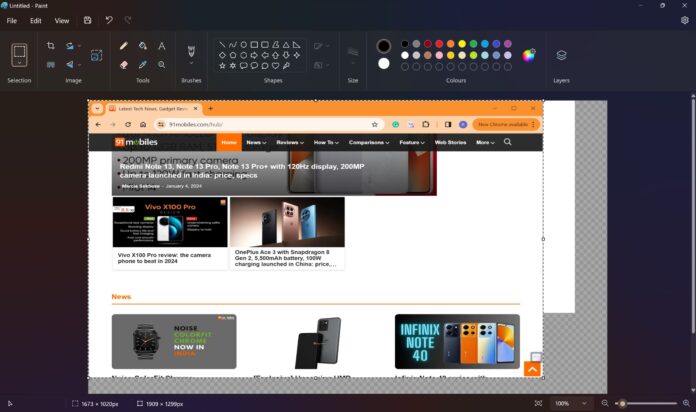
- Save the image in your preferred format.
Note: Keep in mind that the layout of buttons may vary slightly depending on your keyboard or device. Some keyboards require you to press the Function or ‘Fn’ button along with the Print Screen button to capture a screenshot.
Method 6 – Use The Xbox Game Bar
With the Xbox Game Bar, you cannot only capture screenshots but also record videos.
Here’s how:
- Access the Xbox Game Bar by pressing the Windows + G keys. Or, you can press the Xbox logo button on your Xbox controller. But make sure it is connected to your PC.
- Once you see the Xbox Game Bar appear on the screen, locate the Capture widget. If you can’t see it, click the Widgets button in the toolbar at the top of the screen and choose Capture.
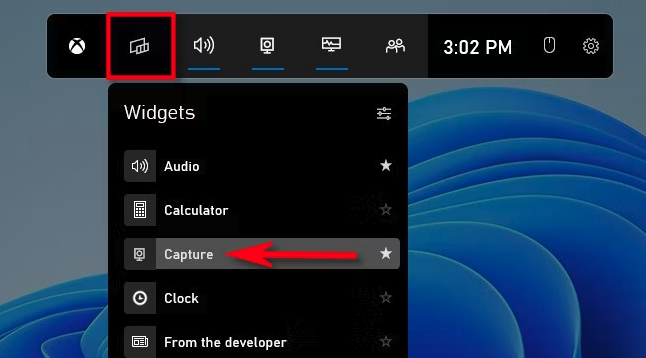
- In the Capture window, you will find options to record videos or take screenshots.
- To take a screenshot, select the camera icon, and to record a video, hit the record button.
![]()
- If you are recording a video, note that you can only capture active apps, not the desktop or the File Explorer.
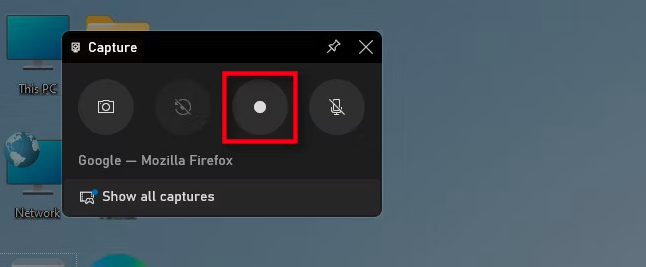
- To stop recording, hit the Stop button in the Xbox Game Bar.
- Your captured videos and screenshots will be saved in the designated folder.
- You can view the saved files in the Gallery widget within the Xbox Game Bar interface.
- After you are done, click anywhere on the screen. Or you can simply press the Escape button to exit the Xbox Game Bar.
Method 7 – Capture A Screenshot Without The Print Screen Key
If you are using a Microsoft Surface Pro with Windows 11 OS that doesn’t have the Print Screen key, you can follow these steps to capture a screenshot:
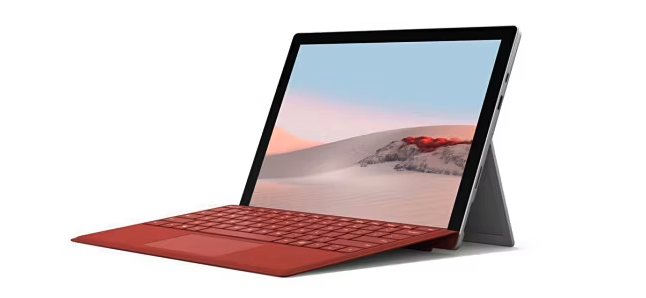
- Press the Windows + Fn + Spacebar keys at the same time. This will capture the screenshot you want.
- Alternatively, you can press the Windows logo and the Volume Down button together to capture the entire screen.
- In both cases, the screenshot will be saved in the Pictures\Screenshots folder.
Method 8 – Capture A Portion Of The Screen
To capture just a certain portion of your screen and copy it to the clipboard, you must follow these steps:
- Press the Windows and Shift keys together, followed by the S key.
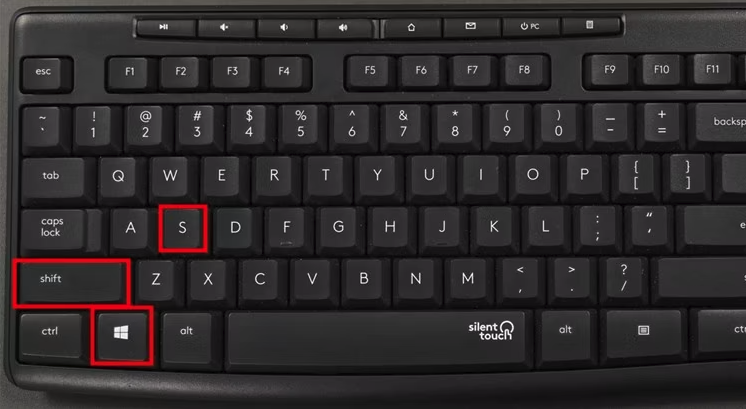
- You will notice your screen gets dark, and a small toolbar appears at the top of the screen.
These are the options you will see in the toolbar:
- Rectangular Snip: Allows you to select a rectangular area of the screen to capture.
- Freeform Snip: Enables you to select an irregular shape for the screenshot.
- Window Snip: Let you choose a specific application window to take screenshots.
- Full-screen Snip: Captures a screenshot of your entire screen.
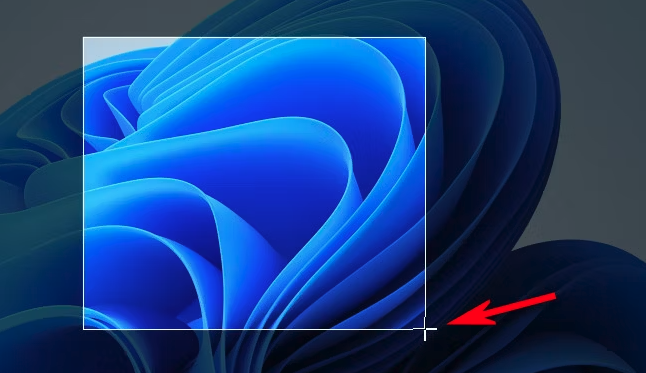
To capture a rectangular selection, select the leftmost icon on the toolbar. Move your cursor to the area you want to capture. Press and hold down the mouse button and drag to select the rectangular area you wish to save.

Release the mouse button after selecting the desired area. The selected portion of the screen will be copied to the clipboard.
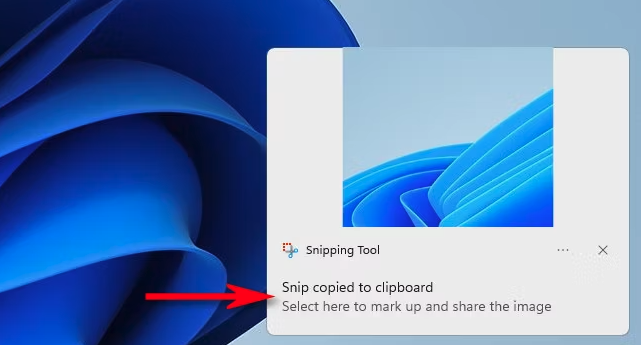
You will also see a pop-up appear at the bottom corner of the screen. Click on it will open the screenshot in the Snipping Tool app. Here you can edit the screenshot if you like.
Final Words
Capturing screenshots in Windows 11 is a simple yet powerful feature that can perfectly enhance your productivity. With the various methods available in Windows 11, you have the flexibility to choose the method that best suits your needs. By learning the techniques given in this post, you can capture a screenshot on your Windows 11 PC however you like.
Table of Contents


