In the present time, most of the companies provide a strong set of lengthy procedures for deleting the official account because no company usually provides the user with an easier way to delete the account. It is Microsoft that only provides a less number of steps to remove the Microsoft account especially from Windows 10. The layout always remains the same in most of the cases. Even reports say that most of the people have started preferring the steps that are usually directed by the company. The steps are to be followed one by one in the whole process.
Complete Guide On How to Remove Microsoft Account in Windows 10?

A Microsoft Windows Account mainly grants or allows access to the Windows store which provides the user with ample options of downloading new apps on the latest Windows 10. The whole thing seems to be a very interesting matter before the people.
- Creating a local account for removing the Microsoft Account in Windows 10.
- In the first step, the user has to press the Windows Key and R alternately on the Keyboard.
- In the next step, the user has to type netplwiz in the open field and then click OK.
- Now click add from the place where the user can add the local account and sign out from the logged-in Microsoft account.
- In the next level, the user has to click sign in without a Microsoft account and then again click on the local account.
- Create a username and if required or desired the user can also create a new password.
- However, the user should always be very careful while creating the password because once forgotten it can never be recovered under any situation. The moment the user logged into another account, he can easily understand the required methods to remove the Microsoft Account in Windows 10.
See more: 5 best tune-up utilities for Windows 10
Steps to remove the Microsoft Account in Windows 10:
- At first, the user has to press Windows Key and X on the keyboard alternately for displaying the WinX menu. The image will appear in this way.

- In the next level click the control panel and select view by dropping down the arrow and clicking on the large icons.
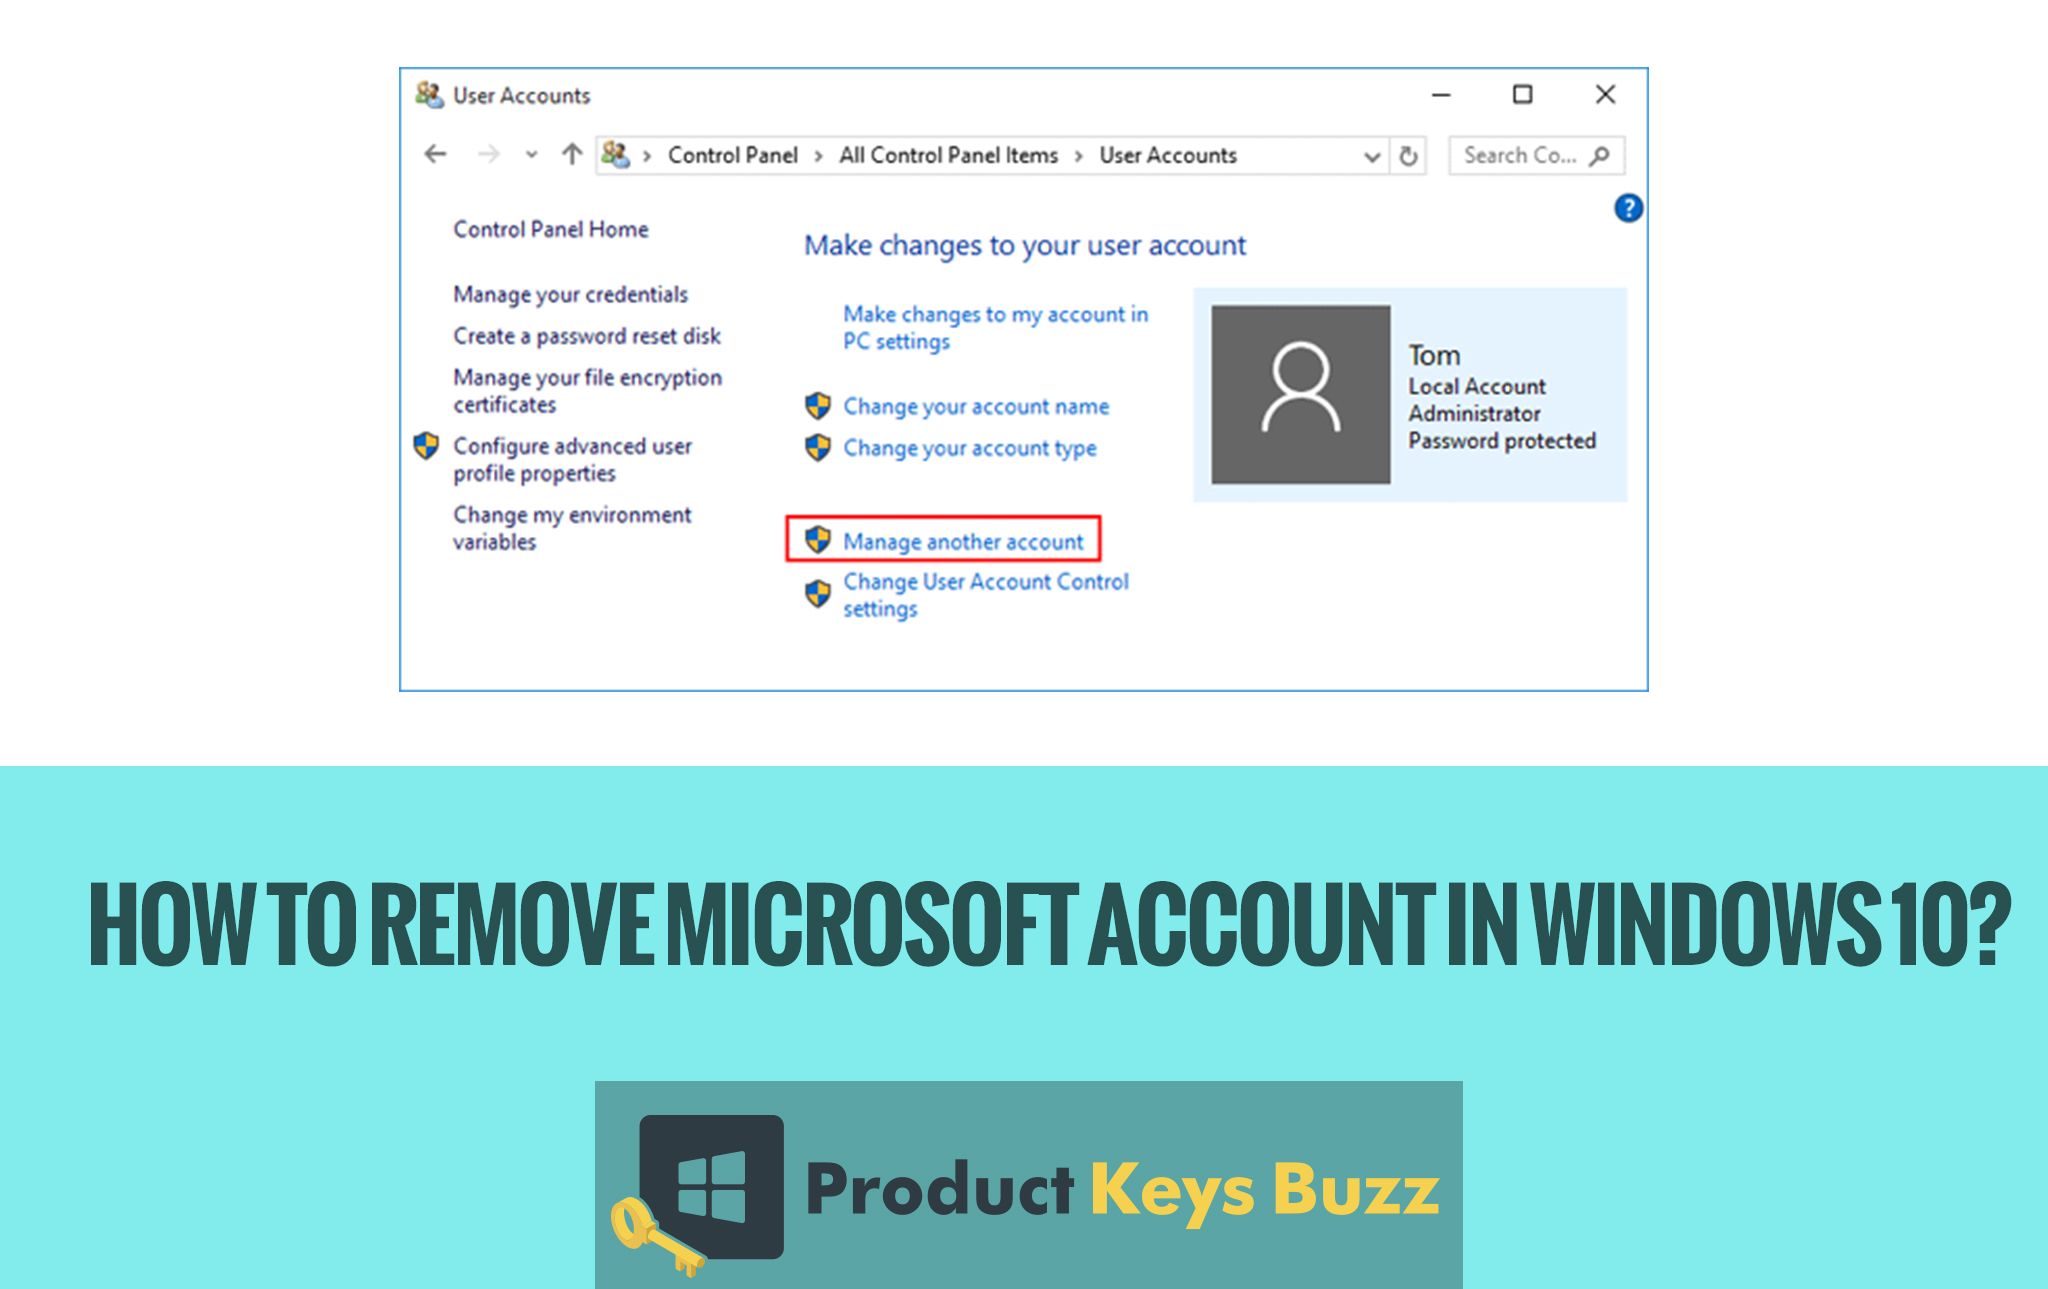
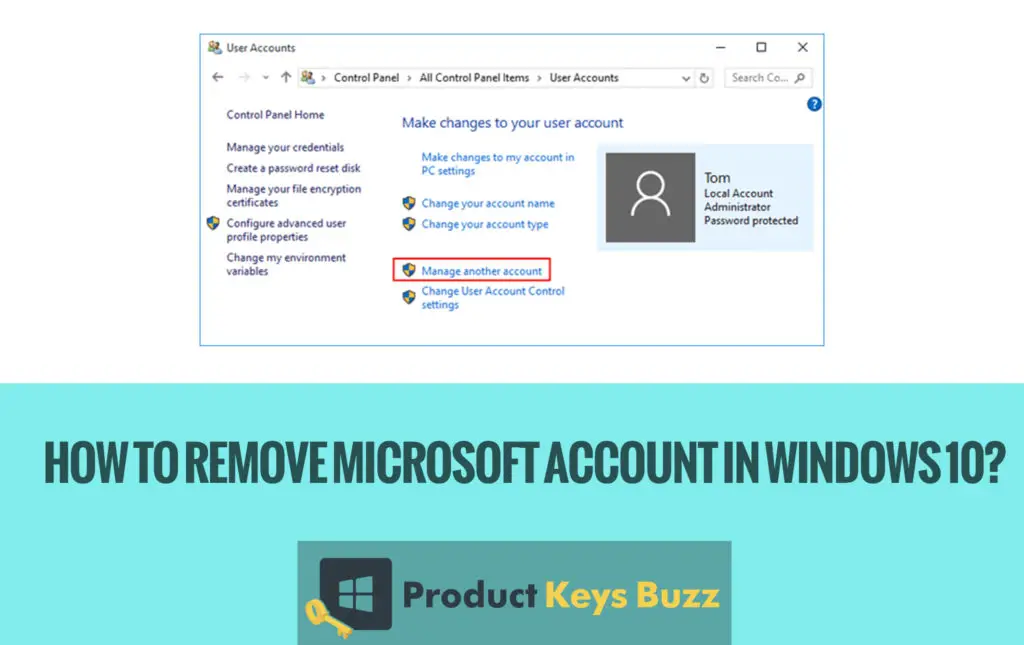
- Next, click on the user accounts and again click on the Manage another account link.

- Now click on the Microsoft account if you wish to delete it.

- However, after selecting the account of the user wishes to delete it from the list then the best way to do that is to select delete from the account option.

- In the next screen, a query will come that will simply ask for whether the user wants to keep the documented files that are related to the Microsoft account or not. If the user selects yes then the profile folder will stay intact and if the user clicks on the delete option then the same will be deleted immediately. So, the whole process is very simple and systematic. It can be done by anyone.
Deleting Microsoft Account from Windows by simply using netplwiz:
The first steps in doing this are by simply moving to the start button and click it. Then open the settings app by selecting the setting options.
- On the other side, the user can also go for Windows + I hotkey.

- Now from the settings windows move to the open account option.
- Then select family and other useful options that are usually available on the left side of the accounts menu.
- Now the user has to select the Microsoft account that they wish to delete from the available list of computing accounts and click on the remove button.
- Soon confirmation windows will pop-up asking whether the user wants to delete the account or not.
- The user will notice a deleted account and data button and they have to click on it to delete the account permanently.
It is too a very simple and easy process that can be adopted by any user.
Once the Microsoft account is removed from the PC it is important to see that the same is removed from the Windows too. Here is some of the simpler way to do so.
- Start the menu that is available on Chrome or any other site.
- Then locate the close Microsoft account page on the web browser and type the Microsoft account username either in the mail or phone.
- Type the password in the block password option and click on the sign-in.
- Put the last four digits of your mobile number that is linked with the Microsoft account that the user wishes to delete.
- Then click on the send code that is available on the bottom of the sign inbox.
- Enter the code or password whichever that is available on the phone in the form of a message.
- Click on the submit option and then again move to the click No thanks.
- It is always suggested to read the instructions carefully before proceeding further and that is provided by Microsoft.
- Click next and check the box that appears on the screen.
- It is best to select the reason by dropping down the arrow beside.
- Simply click on the reason that the user has adopted to delete the account from Windows 10.
- Then click on the “Mark account for closure” and again click OK.
It is now considered to be one of the safest and easiest modes to delete the account from Microsoft Windows 10. It may apparently seem to be a tough job, but once the process is commenced the whole thing seems to be quite easy for the user. It is, however, the best process for deleting the account permanently from Windows 10. Even a few years earlier, it was a tough job for the user to do the work, but now with the invention and introduction of the advanced modes, the whole method of doing the job is just a very easy one. The account is, however, permanently deleted within 60 days of the submission of the application. If the user wants to reactivate the same, then they have to use the old email id and the mobile number.
Recommended:
- Windows 10 Activator TXT 2024
- Windows 10 Free Activation Key 2024
- Find Windows 10 Product Key Using CMD
- How To Uninstall Edge in Windows 10
- Windows 10 Product Keys & Activation Methods for (32/64bit) Home + Pro Keys
Table of Contents


